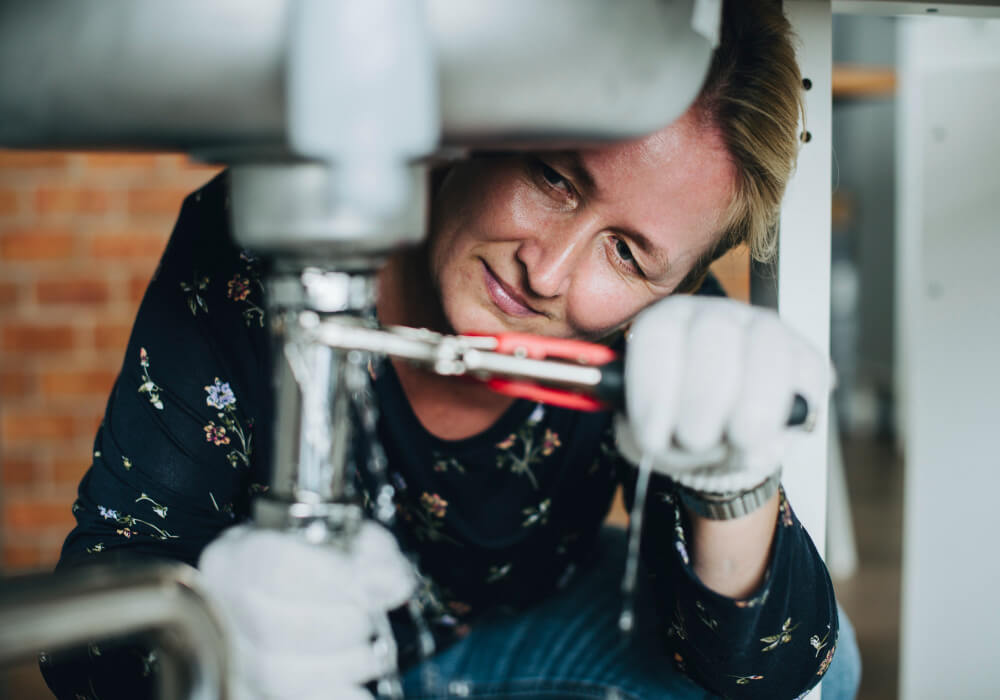
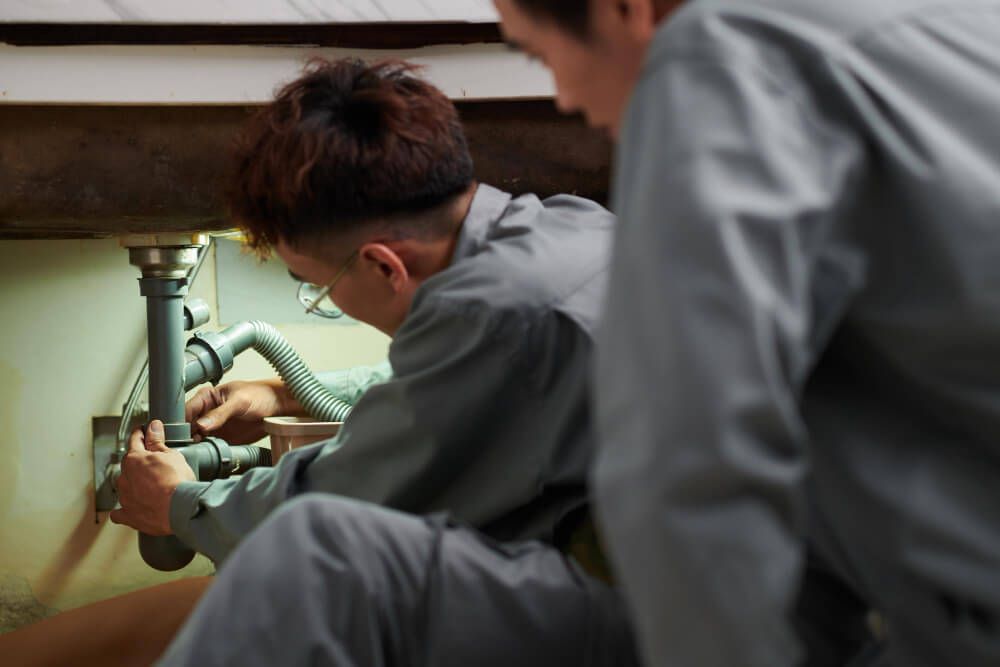
A leak can be a small hole in your pipes or a complete fracture spraying and damaging the inside of your house. Regardless of the size of the issue, it’s wasting water and causing damage to your home. If you eventually need the help of a plumber, you can mitigate the damage by dealing with your burst pipe. With the use of plumber’s tools, you can temporarily fix these pipes even if you don’t have a plumbing license.
In this blog, we’ll investigate what damages your pipes and how you can fix them.
What Causes Burst Water Pipes?
Before you can fix your plumbing, you need to understand what caused the problem. Otherwise, you may fix a pipe but have more damage over time. Here are reasons why pipes leak:
- Temperature Changes: When your pipes rapidly go from cold to hot and vice versa, there’s a risk that they’ll crack.
- Hard Water: When minerals in hard water stick to your pipes, they weaken them. In particular, calcium and magnesium can cause cracking.
- Age: If your pipes have exceeded their lifespan, they can start to fail. Brass, cast iron, and steel pipes usually last 80 – 100 years, while PVC can last 24 – 50 years.
- Poor Installation: You can have leaks if your pipes don’t connect properly.
- Corrosion: If your water has a non-neutral pH, it could damage your pipes.
The Tools Required to Fix a Burst Pipe

The tools you’ll use depend on the type of leak you have. You could have a joint problem, a crack along the length of the pipe, a hole, or a complete break. If you have a complete break, you’ll need to let a licensed plumber fix it since only they can legally replace a piping system in Australia.
For the other types of issues, you can use the following tools, which are all available at hardware stores:
Plumber’s Putty for Small Holes
Epoxy or plumber’s putty is a substance that you can use to plug small holes temporarily. It works by filling the crack, solidifying, and creating a seal. If need be, you can use a putty knife to spread the substance and even it out around the hole. Once it’s dry, you can test the integrity of this fix by running water through the pipes.
Repair Clamp for Leaks
If your water pipe bursts, you can use a clamp to cover the leak. The clamp is a rubber sleeve that you can slide over the affected area. Then, you tighten the nuts on either end, which creates a long-term seal. You can use this tool on straight pipes manufactured with this material:
- Steel
- Copper
- Cast Iron
- Plastic
Though this tool is highly effective and simple to use, you should take care to resolve the underlying issues. Otherwise, more pipes may burst or crack.
Tape for Cracks and Joints
Lastly, you can use rubber tape to repair the cracks and leaking joints of burst pipes temporarily. You can use these types of tape:
- Pipe Thread: If a loose joint causes your leak, you can use pipe thread between the two pipes by wrapping it on the end and inserting it into the other pipe. This assures a tighter connection between the pipes.
- Silicon Tape: Whether you have a crack along the pipe or a loose joint, you can use silicone tape. This tape creates a watertight seal that prevents leaks.
How to Fix Leaking or Burst Pipes

Now that you know which tools you’ll need to repair your leaky pipe, let’s go over the steps.
1. Turn off Your Water
To start with, you’ll need to turn off your water. You can do this at a localized valve that will shut the water off to the specific pipe. However, if you don’t know where it is, you can turn off the water to the whole system at the main supply. Usually, it’s in your front garden in a single-family house. If you live in an apartment, you can ask your landlord where it is.
2. Drain Your Pipes
Now that your water is off, you should drain your pipes. You’ll need to open the faucet the leaky pipe leads to until it no longer leaks, and there’s no water coming out from the tap.
3. Clean and Dry the Area
After you’ve stopped all water from flowing through the burst pipe, you’ll need to clean and dry it. The tool you’ll use later on needs to have a dry and firm contact with the pipes. Therefore, you need to remove any grime or stray droplets.
4. Identify the Cause
Once you’ve dried and cleansed the pipe, you’ll need to locate the crack or leak. There may be multiple problem areas, so you’ll need to try to spot them all by looking for clues such as puddles, stains, misaligned pipes, and cracks in the pipe.
5. Use the Appropriate Plumbing Tool
Next, you’ll need to use the right tool for the problem you’ve identified. If your burst pipe has a crack, use silicone tape or a clamp. If the issue comes from a pinprick hole, you can just use putty. However, if the leak comes from a loose joint, you should use silicone or thread tape.
6. Turn Water on
After you’ve used the right tool, you’ll need to turn the water back on. You can turn it on the main supply if that’s where you shut it off. Otherwise, you’ll need to use the localized valve.
7. Check for Leaks
Finally, you should check the area you’ve fixed. If you’ve correctly resolved the issue, it should remain dry even as water goes back into the pipes. If there are other leaks, you should deal with them using the above steps. If there’s still a leak and you can’t tell where it’s coming from, you should fix your burst pipe with a plumber.
Recap
When you have a leak in your water pipe, you can stop it temporarily all by yourself. This gives you the time to call a plumber and minimize the damage in the meantime. You can use tape, putty, or a clamp to create a watertight seal. However, to know which tools to use, you’ll need to find where the water leaks from and assess the size of the damage.
Though you can repair these issues yourself, they could be a symptom of a serious issue. To resolve the issue definitively, call a plumber to examine your burst water pipe outside your house or inside your home.


