It’s easy to notice a problem with your plumbing when your pressure is so low your shower dribbles. But even if you don’t feel any pressure change, there could be a small change indicating a failing plumbing system.
Whether you just built a new home, did some renovation, or suspect a leak, you should test your water pressure. In fact, it’s part of your plumbing’s maintenance. Some homes have a permanent gauge that indicates the water pressure. However, if yours doesn’t, you’ll need to measure it yourself.
In this blog, you’ll discover how you can measure the pressure in your pipes and what to do if it’s too low or high.
How to Pressure Test Plumbing with Water
Here’s the easiest and least costly way of measuring your plumbing’s pressure:
-
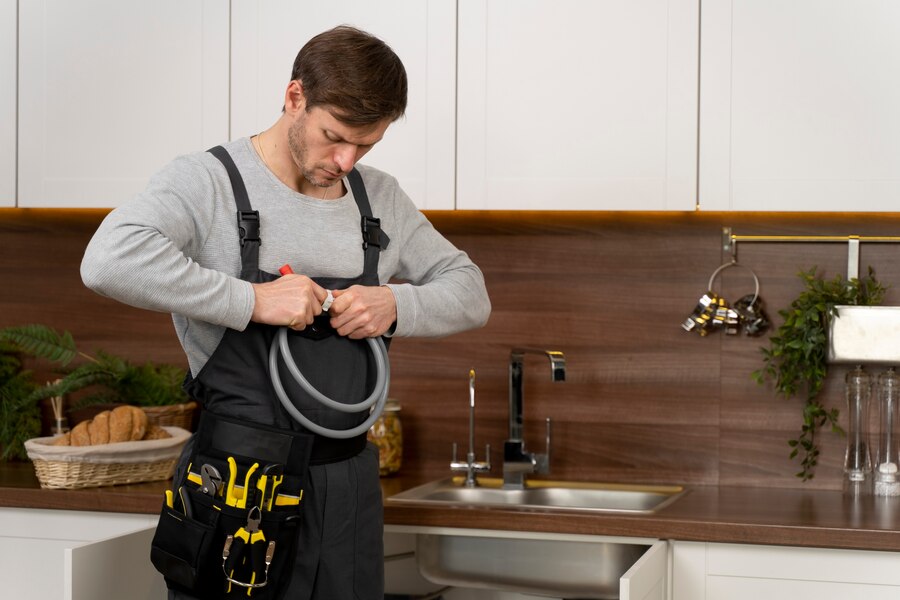
Gather the Tools Required
To measure the pressure in your plumbing, you’ll need a pressure gauge, pliers, and a female hose thread. If you conduct this test inside your home, you may need a rag to wipe spills.
-
Shut off the Water
After you’ve collected the materials you’ll need, you should shut off all the water taps. In particular, you should ensure no one is using any appliance that uses water such as a washing machine. With the water shut off, your pressure readings will be more accurate. Moving water gives off low pressure reading, which could make you think you have a leak when you don’t.
-
Install Your Pressure Gauge
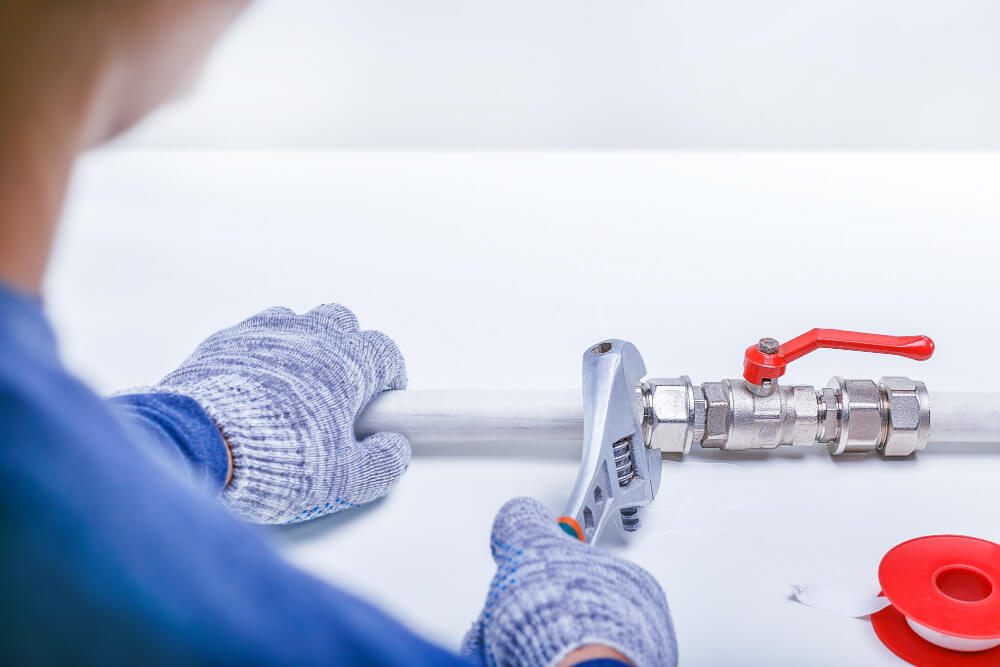
After you’ve shut off the water, you should install the gauge. You’ll need to install your gauge on one of the largest pipes that’s near the source of your water supply. So, if your water comes from a municipal system you can use the outside faucet. Meanwhile, if you use a well, you should place the gauge near your water tank. An indoor alternative is the faucet connected to your washing machine.
If there’s a hose attached to the faucet you’ve selected, remove it. Then, screw the pressure gauge onto the faucet with a female hose thread. However, if water leaks, you can use pliers to tighten the connection.
-
Measure the Water Pressure
Once you’ve connected the gauge to the system, you should turn the faucet on and read the pressure gauge’s display. Then, you should disconnect the pressure gauge from your plumbing.
Air Testing Plumbing: A Step-by-Step Guide
An alternative to testing your plumbing is air pressure. This system can detect leaks that water pressure can’t. Since water has tension which can keep a small hole from leaking, a water pressure test may not spot such issues until the hole grows in size. However, air pressure can locate even these smaller leaks.
Nevertheless, this method brings some risks of explosions if there is a joint or pipe failure. Also, caps can come loose and injure or even kill someone nearby. To offset the dangers of this method, you should receive training and ensure that the pressure you use does not exceed what the material of your pipes can withstand. To know the limits of your pipes, you can look at the code on them. Alternatively, you could check your local regulations to know what pressure your pipes should be able to withstand.
Now, here’s how you use air in a plumbing pressure test:
-
Gather the Tools Required
To measure the pressure in your plumbing, you’ll need these tools:
- Air Compressor
- Caps
- Pressure Gauge
- Pliers
- Plumber’s Tape
- Pipe Nipples
- Pipe Coupling
- Adapter
- Reducer
- Soldering Tools / Glue
-
Shut off the Water
After you’ve gathered the tools you’ll need, you should shut off all the water taps including the main water supply, valves to appliances, and faucets. Now, you should let the water drain out of the system. Then, you should cover these water outlets with caps which you can solder on or secure with glue. However, you’ll need to leave two tap without a cap which is where you’ll attach your pressure gauge and air compressor. This creates an empty, closed system where you can accurately judge the pressure.
-
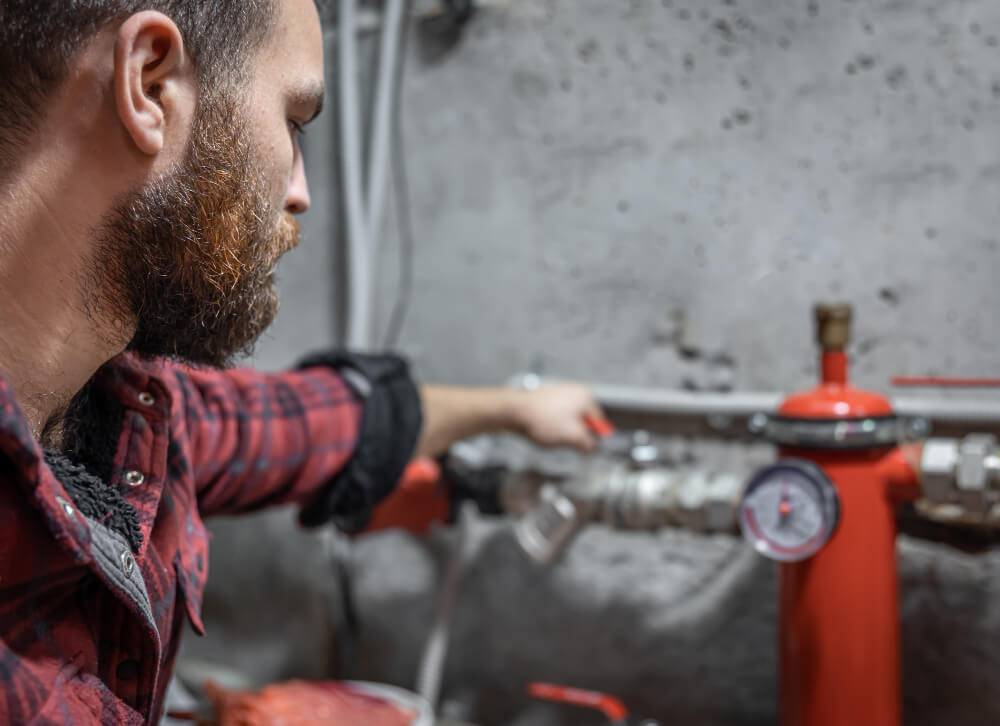
Install Your Pressure Gauge
Once you’ve shut off the water and capped the outlets, you should install the pressure gauge near the main supply. Therefore, you can pick either an outdoor faucet or the one connected to your washing machine. Next, you’ll attach the nipple and reducer to the pressure gauge with plumber’s tape. Then, you’ll use pliers to attach the gauge to the faucet.
-
Install Your Air Compressor
After you’ve installed the pressure gauge, you’ll install the air compressor. Using an adapter, you’ll attach the air compressor to the faucet.
-
Use the Air Compressor
Once you’ve connected the air compressor to your plumbing, you can turn it on and truly begin the plumbing pressure test. You’ll turn on the compressor which will fill your plumbing with air. You should let the pressure build up to the optimum level for the types of plumbing system you have.
-
Measure Pressure Fluctuation
Now that your plumbing is under pressure, you should shut off the air compressor and wait around 15 minutes. During that time, you’ll keep note of the pressure. It should remain constant; fluctuation is a sign you may have a leak or that your pressure regulator isn’t working.
Once the wait time is over, you should disconnect the pressure gauge and air compressor from your plumbing and disassemble them. Then, you should remove the caps and turn back on the valves you closed for this test.
What to Do if the Results of the Pressure Test of Pipes Is Too Low or High
If your pressure is outside of 40 PSI – 55 PSI, you probably have a problem with your plumbing system. If it’s too low, that may be a sign of a leak. This could be either because there’s a gap between the joints of your pipes. Alternatively, there could be a hole in your pipes. And so, you should call a professional to fix it.
Meanwhile, if you have a pressure reading above 60 PSI, it’s too high. Since excessively high pressure can damage your plumbing, you’ll have to attach a pressure regulator to your plumbing system. The regulator will keep your water pressure from going above 75 PSI.
Summary
Now you know two ways to conduct plumbing pressure tests. With water, you’ll simply need to close your taps, attach a pressure gauge to a faucet near your main supply, and turn that tap on. You’ll immediately get your water pressure readings. Meanwhile, the air pressure method is more likely to find a leak. However, the air test requires more tools and can be risky.
Nevertheless, testing the water pressure at least once a year is a must. It lets you know if you have an issue with your plumbing. If you don’t measure your water pressure, you risk letting problems become worse before you notice them. So, test your water pressure today!


