If you have a dripping shower head, it’s throwing away precious water. So, you need to fix that shower head quickly yourself. The thing to ponder is that a slow drip could waste nearly 3,800 liters of water in a year, while a fast one wastes 15,000.
In Australia, only licensed professionals can do most plumbing. Nevertheless, there are ways you can repair a shower head yourself.
In this blog, we’ll take you through the reason why your shower head leaks and how you can fix it. Let’s dive in!
What Causes a Leaking Shower Head?
If your shower leaks, it could be due to a build-up of dirt or minerals that block the shower head. Since Western and Southern Australia have hard water, you’re likely to have a mineral build-up over the years. But even if you use a softener, there could be grime blocking the way. Then, this dirt/mineral/grime prevents the proper flow of water through the shower head, making it leak.
Alternatively, one of the shower head’s components has wear and tear. As water passes through it, the water applies force to each component, which can cause damage over time. In particular, the o-ring, seal, and valve are at risk.
Furthermore, if the shower head installation is incorrect, it’ll leak. At first, it may drip a little, but this problem can become worse over time.
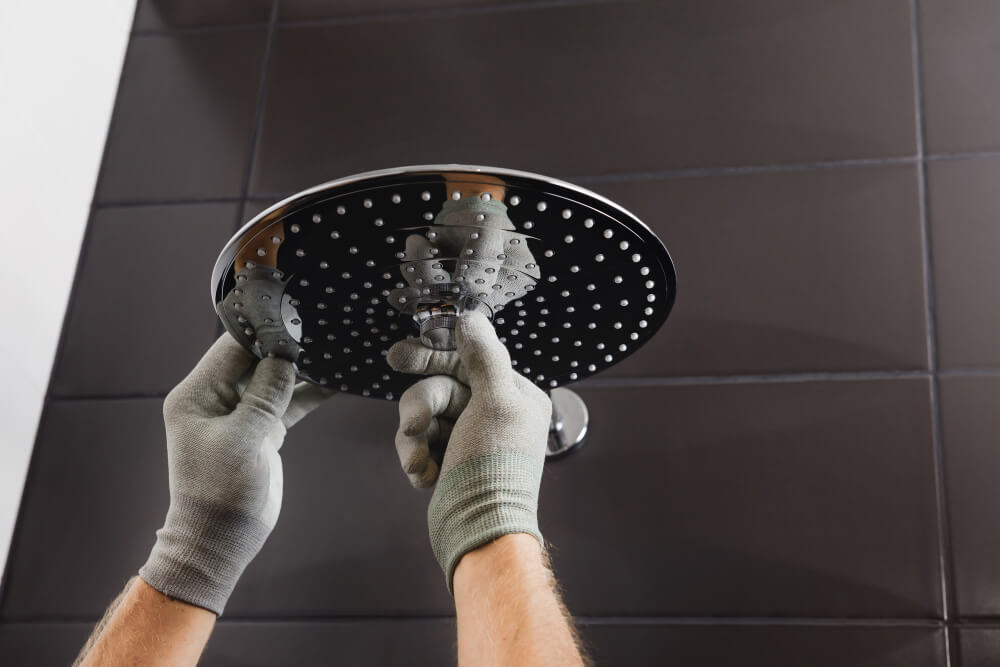
How to Fix a Dripping Shower Head

Regardless of the reason behind your leak or the way you repair it, it usually boils down to cleaning or replacing a component. Plus, the process is always simple and requires a few tools: Cloth, pliers, and the replacement component.
Here are three ways to fix your shower head:
Repair Your Dripping Shower with Vinegar
If you see white deposits or grime on your shower head or notice water coming out only from a few holes, there might be a buildup. Therefore, you should cleanse your shower head. Here’s how you’ll clean it:
- Turn Water Off: To start repairing your shower head, you need to turn off the valve at the water supply of your home. This will prevent flooding in your bathroom while you work.
- Remove Your Shower Head: Once you’ve turned off the water, you can unscrew the shower head and ensure you keep the o-ring and washer in place. To unscrew it, you can use your bare hands. If it’s too difficult, you should wrap the area in a cloth and then use pliers to unscrew it. This will avoid scratches on your plumbing.
- Soak Your Shower Head: After you’ve removed the shower head, you should soak it in vinegar. You’ll need to place it in a solution that’s half water and half vinegar for 1 – 8 hours. During that time, the acid in the vinegar will break down dirt and detach minerals from the shower head.
- Clean Your Shower Head: Now that the shower head has soaked, you can clear the holes with a toothpick and clean it with a toothbrush.
- Rinse and Reattach Your Shower Head: Once you’ve cleaned the shower head, rinse it and screw it on. Next, you should switch on the water and run the shower. This will remove the last of the vinegar.
Now that you’ve cleaned your shower head, inspect it to check whether it’s leaking. If it still is, you can use one of the methods below.
Replace the O-ring and Valve to Fix a Leaking Shower Head
If the o-ring or valve components have damage, it’s best to replace them with new ones with these steps:
- Turn Water Off: To replace the o-ring and/or valve, you first need to shut off the water in your property. Otherwise, your bathroom may flood as you work.
- Remove Your Shower Head: Now that the water is off, you should access the components by removing the shower head. You’ll need to unscrew it from the base where it connects to the pipe.
- Remove the old Components: Once you’ve unscrewed the shower head, you’ll find the o-ring and the valve. However, they might be behind a nut.
- Inspect Your Components: After you’ve found the components, inspect them. If they look intact, you can rule them out as the cause of the leak and move on to the last repair method. However, if they have damage, you should remove them. In particular, the valve may require a specific tool to remove it, so you should check with the manufacturer if you can’t easily remove it.
- Replace the Components: After confirming the o-ring and/or valve malfunctioning, you should take them to the store to replace them with an identical model. Next, you’ll place the new components where the old ones were. Then, you can screw the shower head back on and turn on the water.
Stop Your Dripping Shower Head with Plumber’s Tape
If your shower head was installed improperly or has come loose, you can re-tighten its connection to the pipe through these steps:
- Tighten the Connection to the Pipe: To begin the re-tightening, you can use your bare hands. If it’s difficult, you should use a cloth to cover the area and use pliers. If this doesn’t stop the leak, you can go to the next step.
- Inspect the Seal: After you’ve tightened the connection between the shower head and the pipe, you should inspect the seal. You’ll find this seal where the pipe connects to the shower head. If it looks worn, you can continue to the next step. If it doesn’t, you should ask a plumber to help you with this leak.
- Turn Water Off: Now that you’ve confirmed you need to replace the seal, you need to shut off the water supply so you can avoid flooding as you fix the dripping shower.
- Remove Your Shower Head: Once you’ve turned off the water, you should remove the shower head. You can use your hands or unscrew it with pliers and a cloth.
- Reseal the Connection: Now that you’ve exposed the old seal, remove it, and reapply the plumber’s tape. You’ll place the plumber’s tape over the pipe thread to create a water-tight seal. Then, you can screw on the shower head and allow the water to flow once more.
After all these repairs, if your shower still has a leak, you should rely on a plumber to identify the true cause and promptly fix it.
Summary
Now that you know three different ways you can fix your dripping shower head, you can feel confident about repairing this pesky leak. Each method is simple and legal in Australia. All you have to do is either clean the shower head with some vinegar or replace the o-ring, valve, or seal. Apart from the valve replacement, you don’t even need specialized tools! A little bit of plumber’s tape, pliers, and a cloth are enough. So, if you’ve found a leak in your shower, don’t wait! Fix it yourself or call a plumber to repair the leak quickly.


